There’s nothing quite like it when your house gets filled with the smell of freshly baked bread. Trust me! Then you pull out that perfect loaf of bread from the oven and observe this beauty.. And the best part is, it was the easiest bread recipe to follow!
I have baked bread at home tens if not hundreds of times. Yet still every time that I bake a loaf, I can’t believe my eyes. I made this! And it smells and tastes better than the store-bought bread! This bread recipe is among my top 5 easy baking recipes.
But enough of talking! Let’s jump to the bread recipe and bake some homemade bread!
Tools that you need for the bread recipe:
- Dutch Oven – it’s a cooking “dish” with a lid that is made out of cast iron.
- It is very thick and allows the bread to have hot enough temperature inside this dutch oven to achieve even cook-through.
- I have the cast iron dutch oven; the enameled ones look prettier, but I’m not sure how this affects functionality, so I included both options below.
- Mixing bowl
- Mine are silicon non-slid on the bottom and it’s a very helpful thing to have in a mixing bowl, especially when you have kids
- Silicone Spatula
- You can use a regular spoon for mixing the dough, but the silicone spatula makes it much easier to scrape all dough from the mixing bowl
- Measuring Cup
- Measuring Spoons
- Parchment Paper (this is a must! Without it, your bread loaf will stick to the dutch oven. I like the pre-cut sheets that I linked below, but you can definitely just use a roll)
- Cooling Rack (this is where our bread will be cooling after the oven)

List of ingredients for bread recipe (there are only a few, don’t be surprised):
- 3 – 3 1/2 cups flour (additional 1 tablespoon for working with dough)
- I have tried different variations here :
- 1 cup white, 2 cups rye, 1/2 cup whole wheat flour
- 2 cups white, 1 cup rye flour
- 3 1/2 cups white flour
- The options are endless, but you can start with majority white and add some whole wheat or dark rye flour and see how you like it.
- I grew up in Belarus and dark rye bread was very popular. Therefore, I might lean towards using more of rye flour, but you can definitely customize to your liking
- I have tried different variations here :
- 1 teaspoon salt
- 1 teaspoon instant yeast
- 1 1/2 cups lukewarm water (the water has to be warm, but not hot – that’s important! you can just put your finger inside the water and if it feels comfortable, then it’s not too hot)

Make the dough
- Mix all dry ingredients in a mixing bowl (flour, yeast, salt)
- Add warm water
- Mix everything until combined
- Cover bowl with plastic wrap or a lid, so that the dough doesn’t get covered with dry crust
- If you have granite countertops, I recommend placing a cutting board underneath the bowl, because dough needs warmth to rise properly and granite countertops might be too cold for it
- Leave the dough for 8 – 20 hours
- I usually mix it either right before going to bed and and bake it in the morning or mix the dough in the morning and bake the bread in the evening
Prep the dough
- After the time passes and you’re ready to work with the dough, place your empty dutch oven (with the lid on) inside your oven and preheat it to 450 F
- Leave the dutch oven inside for around 30 minutes to heat it up properly
- While your dutch oven and oven are heating up, prepare your surface for working with the dough
- I grab a cutting board (because my marble countertop is too cold) and add a tablespoon of flour, the distribute it evenly over the board
- I then lay a sheet of parchment paper next to my cutting board
- Scrape the dough from the mixing bowl onto the cutting board (that’s where silicone spatula comes in handy)
- This dough doesn’t require any kneading, so all you need to do is to fold it like an envelope – fold right side to the middle, then left, then top, then bottom) – having enough flour on the work surface is crucial here, so that dough doesn’t stick to the surface
- Pick up the dough and flip it to the middle of the parchment paper sheet – meaning, the top part now needs to be facing down
- Either cover the dough with plastic wrap or a towel or pick up the dough by the parchment paper and place it into a clean bowl (I prefer the bowl method) and leave it covered until the dutch oven is ready for use
- Remove the dutch oven from the oven, open the lid, pick up your dough by the parchment paper and place it inside the dutch oven
Steps for baking that delicious loaf of homemade bread
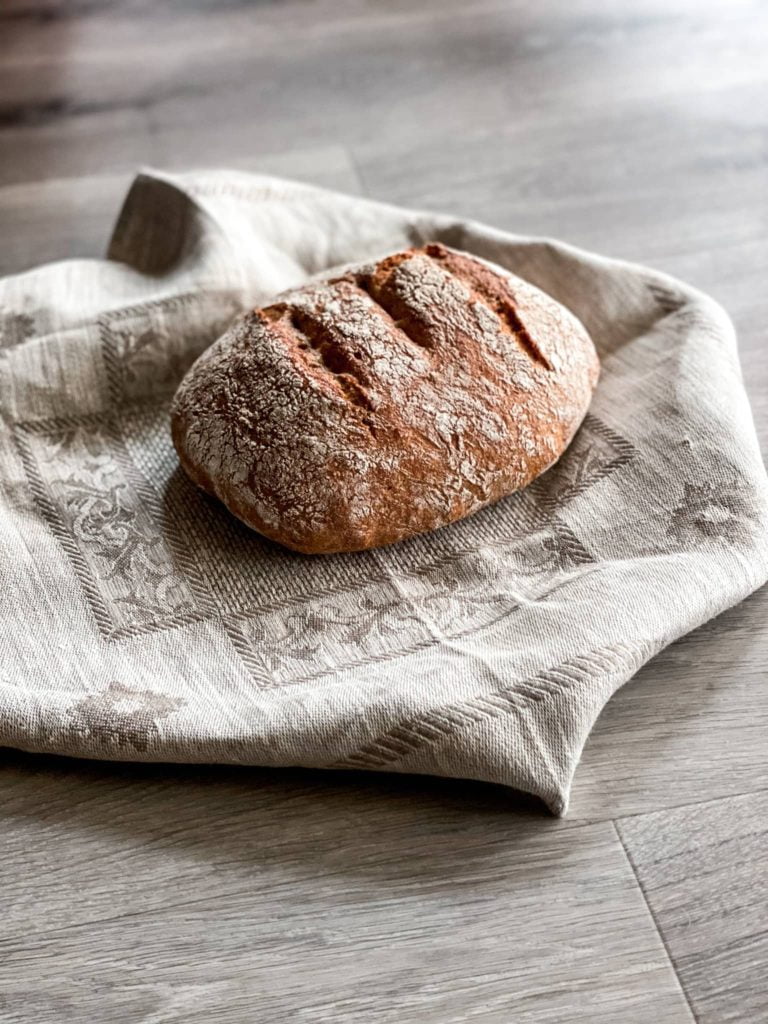
- Make a cut in the middle of the bread either in the form of cross or 2 – 3 parallel cuts (like in the pictures) about 1 – 2 inches deep; this allows extra moisture to escape from the inside and to cook bread all the way through
- Cover with the lid and place in the oven on the middle rack
- Bake for 30 minutes
- At this point, you can either remove your bread from the oven, or you can remove the lid and leave the bread in the oven for another 10-15 minutes if you like it extra crusty (like I do)
- Remove bread from the dutch oven by the parchment paper and place it on the cooling rack, you can then slide the paper from underneath the bread
- (optional) To test if the bread is cooked through, flip it upside down and pat it on the back side. If the sound is hollow – it is cooked through
- After 30 minutes to an hour, your bread is cool enough and is ready for consumption (you can technically eat it earlier, but it might be a bit sticky until it fully cools down)
- Devour it all
- Then make another one because now you can bake your own bread!

If you like easy and healthy recipes, you might also enjoy my 3 Ingredient Banana Pancakes Recipe


This looks pretty simple to make. I bet my daughter would love making this!
Oh yes, this is an incredibly simple recipe. It is meant to be easy enough for a 6-year old to make 🙂
It is a very forgiving recipe, doesn’t require any kneading, and only uses a handful of ingredients.
Would love to see the pictures if you end up baking one 🙂
This is great mama! Thank you so much for sharing with us!!
Thank you mama! I hope you get to bake it and share with your family 🙂 It is quite delicious!
This looks amazing! I’ve never made fresh bread, so I’ll have to try this recipe!
Yess!! I really encourage you to try! It’s a really simple recipe, but the result is so amazing that you will get hooked and continue baking 🙂
That’s a beautiful loaf of bread! I tried to make French bread a couple of weeks ago and it did NOT turned out as planned… I’ll have to try your recipe once I get my hands on a dutch oven.
Yes, dutch oven is key here! It makes the bread baking really easy. It creates a micro-climate with ideal high temperature and humidity for the bread to cook all the way through, while getting a nice thick crust. So definitely give it a try! I never though I’d be baking bread in my life. Yet here I am 🙂 And every loaf that comes out of my oven is my pride and masterpiece 🙂